I did find a new lid on Ebay for just under $300. 
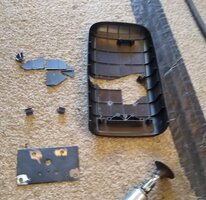
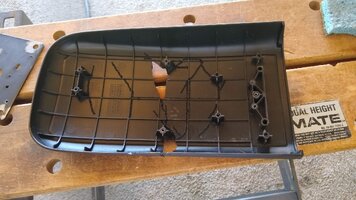
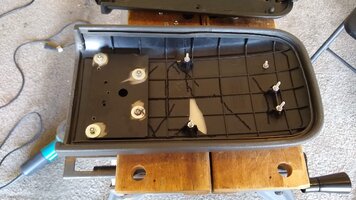
Pic 01 I pulled it out and took it all apart. Most of the pieces were there. The hinge actually bolts to the metal plate, that's helpful.
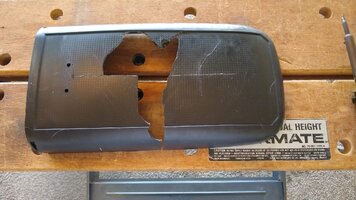
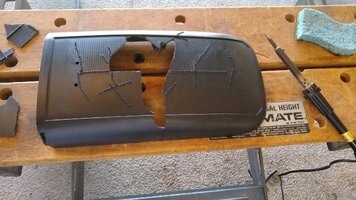
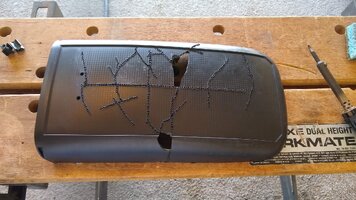
Pics 02-05 is a technique I like to call 'plastic stitching'. I used a 40W soldering iron. This does not result in a lot of strength. In fact the melting and cooling of the plastic usually makes it more brittle. This is just to hold all the pieces in place.
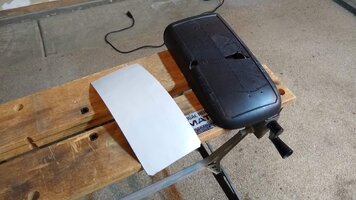
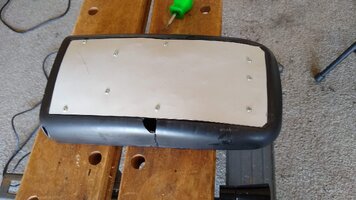
Pic 06-07 are good old fashioned body work. My real body tools were stolen long ago so I made due with a 5lb sledge and the shag carpet (with no padding) in the garage. It's getting covered up anyways so the shape only needed to be close. The metal is from the side cover of an old PC case. (I have a lot of old pc parts)
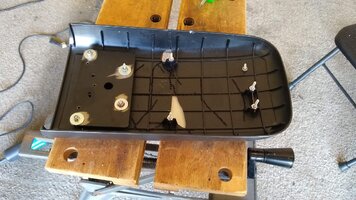
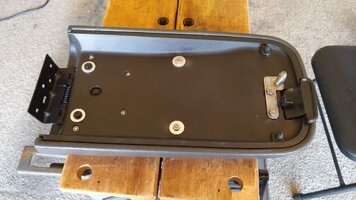
Pic 08-09 show the 6-32 hardware I added. I trimmed the 2 middle plastic towers the thickness of the nuts and I widened the holes on the top of the latch piece so it would sit down over the nuts. All the plastic towers are hollow so it's really easy to drill straight through.
Pic 10 is the finished product with the aligning pin I fabricated after looking at Matt's picture here https://gmtnation.com/forums/threads/custom-center-console-aligning-pin.14076/post-643007.
I made the pin a longer. I found a sleeve that just happened to be a perfect fit and I rounded off the 6mm acorn nut after tightening it. I thought about using magnets but decided the door needs that pin to keep the front from moving when any pressure is put on it. With the pin properly positioning the door the latch works as intended now anyways.
I used industrial grade permanent thread locker on all the 6-32 hardware I added. The only original fasteners left are the 6 for the hinge.


